Disclaimer: The Lifestyle Elf. This site provides fashion and lifestyle content for informational purposes only.
Aside from your home being one of the biggest purchases of your life, you also need to consider that owning one comes with additional costs aside from rent or mortgage.
You can run into small mishaps such as a clogged toilet or something major such as a serious electrical wiring problem that would require you to contact a residential electrician for a professional helping hand.
While some home repairs don’t require much experience in maintaining the parts of a home, some need serious research to be done efficiently while ensuring nothing working well breaks as you attempt your DIY repair.
Some DIY repairs can end up hazardous, while some can end up a feat of success for your inexperienced hands.
If you have the necessary tools and a good manual to follow—there’s plenty on the internet—especially YouTube—you can use. There are some channels dedicated to simple home repair activities that are commonly looked up by users.
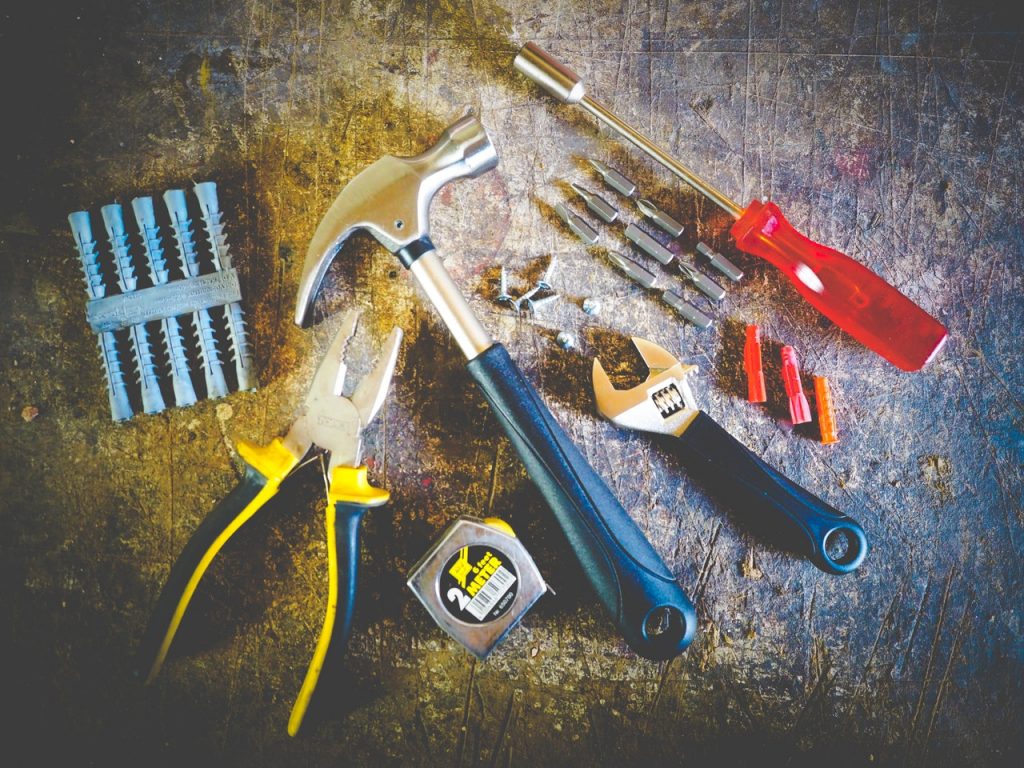
To keep you informed on the most common home repairs you can do with little to no professional help, here’s a list along with the necessary tools to successfully do them yourself:
1. Fixing a broken toilet lever
After the grand bathroom deed, the last thing you want to happen is to run out of toilet paper. After that, another problem you’d hate to run into is a broken toilet flush lever. It’s the thing you press down when you want to flush down your body’s waste.
They are prone to breakage because they get wet and are used multiple times each waking day. The good thing is, repairing a broken toilet lever is not a difficult task to accomplish. The replacement materials are cheap, and you’ll only need an adjustable wrench along with it to successfully repair or replace the important lever.
2. Unclogging a toilet
A broken toilet lever is one thing, but a clogged toilet? That’s just unlucky. Chancing upon a clogged toilet—especially when you’re in a hurry or aren’t dressed to do the dirty work is a complete nightmare.
But before you dial up on plumbing services, make sure to try DIY-ing—if you have the time or the clothes. The first thing you’ll need for this DIY unclogging project is a plunger—the right one. A toilet plunger and a sink plunger are two different things used for two different purposes. Make sure you pick the right one for this repair activity.
You wouldn’t want your toilet’s contents near the area where you wash your upper regions, right?
In unclogging a toilet, you’ll need to have enough water inside the toilet to be able to submerge the head of the plunger. Give it a few good downward thrusts. Minor clogs should be cleared up with that, but big ones would require you to use toilet augers. They can be a little pricier than plungers, but they work on bigger clogs.

3. Fixing a leaky kitchen or bathroom pipe
Leaks. They’re messy and most of the time can be a cause of panic. When you see water flowing freely where it shouldn’t, it wouldn’t be strange for you to feel a surge of panic and call repair services.
But if you want to learn the know-how of DIY home repairs, the first order of business is to walk off every drop of panic you feel once you notice that there’s something wrong with your pipes.
The first thing you should do is to turn the water off. Turn the valve in the right direction to prevent more water from flowing out of the leak. Once off, place a bucket to catch water droplets to prevent them from spreading where they shouldn’t be. After this, you can start replacing the broken pipe.
4. Fixing a clogged garbage disposal
Having nowhere to place your garbage can be stressful. A filled-up garbage bin looks messy enough as it is, but a jammed garbage disposal is something else. You can end up with days’ worth of garbage if you leave your machine under bad conditions.
Garbage disposal machines can be jammed because of the variety of waste we throw in them while trusting that they’ll be able to crush them with no problems. But that isn’t always the case.
When you realize your machine isn’t working in ideal conditions, make sure to cut the power to prevent a more serious problem. Once you’re sure the power is off, you can use a wrench to check and adjust the flywheel inside the machine to find the culprit.
Once you find the suspect, pluck it out with a pair of pliers. When you’re sure the machine is free from obstruction, use it as intended.
There are many home repairs you can do yourself, but that doesn’t mean you should jump right in every time something inside your house breaks. Before taking matters into your own hands, do ample research, and find out if you have the tools and skills. You don’t want to risk losing a limb trying to fix something that doesn’t require that type of sacrifice.